 Staining provides a stronger layer of protection for your deck against wear and tear. By using, preparing and applying the correct staining products, you can maintain and enjoy your deck for many years to come. Staining provides a stronger layer of protection for your deck against wear and tear. By using, preparing and applying the correct staining products, you can maintain and enjoy your deck for many years to come.
Preparing Your Deck For Staining
- Firstly, remove as many items as you can from the deck (i.e. planters, hoses, any outdoor furniture, etc) and cover any remaining items (i.e. steps, plants or paths) with dustsheets.
- Next, examine the deck for surface wear, cracked boards or popped nails and make any necessary repairs before you begin to stain your deck.
Applying The Stain
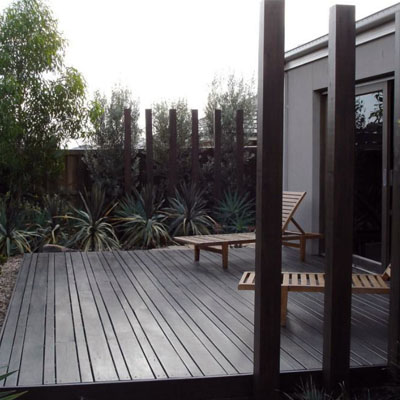
Decks are often subjected to extreme environmental conditions (i.e. direct sun, cold, damp, shade, etc.) as well as heavy foot traffic. Proper care of your deck will help ensure the longevity of the finish.
Once you have properly prepared the wood, select an inconspicuous place on the actual wood you will be staining and test the stain to be sure you will be pleased with the final colour results.
- First stain the vertical sections of the deck, such as the rails and posts, so that drips will not land on previously finished areas.
- Once the vertical surfaces are completed, proceed to the deck surface. For deck boards, stain two to three boards at a time to avoid lap marks. Do not stop in the middle of a board, or you will risk developing lap marks.
- Make sure to wipe up any excess stain.
Deck Staining Tips
- The best way to apply deck stain is to use a roller or spray, followed by back brushing to even out the stain.
- Do not let stain puddle on the surface of the deck.
- Stain does not stay mixed the same way paint does. You will need to stir the stain frequently during application.
- To ensure proper stain penetration and even drying results, avoid applying stain in direct sunlight.
TRICK OF THE TRADE
Soak the bottom of the deck posts in primer; this will give the posts added protection from ground moisture. This will help extend the life of the post. |